 THE GAME ARCHIVE

Reading the HUD and Managing SlowMo, Health, and Flashlight
The heads-up display gathers the Field Operative's combat readings: current weapon ammunition, grenade counts, health, armor, and the SlowMo meter. To keep the screen clearer, these readouts fade after a few seconds and return when something changes. Pressing the Scores/Refresh HUD key brings the full display back on demand, and a fade-speed bar in the options menu sets how quickly it dims or disables fading entirely. A separate incoming transmission indicator names the teammate sending each radio message, while the arsenal display lists carried weapons.
The SlowMo meter recharges whenever the ability is idle, and its color signals readiness: blue permits activation with the SlowMo key, red forces a wait until it turns blue, and the duration of the effect depends on how much charge is stored. Reflex booster pickups enlarge the meter. The flashlight meter follows a similar rhythm, draining while the light is on and recharging when it is off; the light can be switched on whenever the battery is not empty. The health monitor turns red below 50 health points, blinks rapidly below 25, and at 0 the player dies.
Standard Loadout: RPL SMG, AT-14 Pistol, and N6A3 Grenades
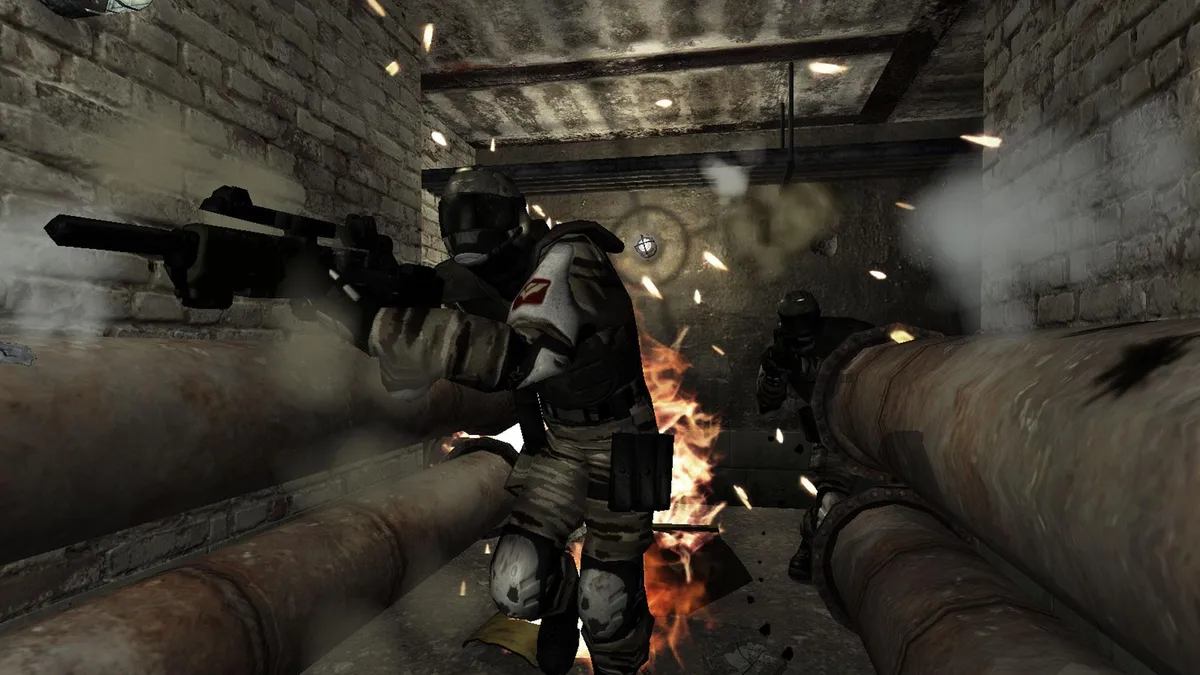
Across most missions the Field Operative carries a standard kit built around the RPL Sub-Machine Gun, a lightweight fully automatic weapon with a very high rate of fire. Its generous ammunition capacity suits it to unarmored and fast-moving targets. Every operative is also issued the AT-14 Pistol, and training allows a second pistol found in the field to be dual-wielded with it for greater efficiency. The N6A3 Fragmentation grenade completes the loadout: thrown, it detonates after a set time, killing or severely injuring anyone in range, but contact with an enemy makes it explode immediately.
Operations authorize swapping the issue weapons for any others found in the field, so to exchange the selected weapon for one on the ground, stand close, look at it, and press the Use key when the swap icon appears. Capacity is limited to three weapons at once, or two pistols plus two other weapons, grenades excluded. Heavier weapons slow the operative down and hold little ammunition, so discarding the originals deserves care. When the held gun empties, the same ammunition type reloads automatically; if none remains, the next weapon is drawn.
Survival Gear and Hand-to-Hand Combat
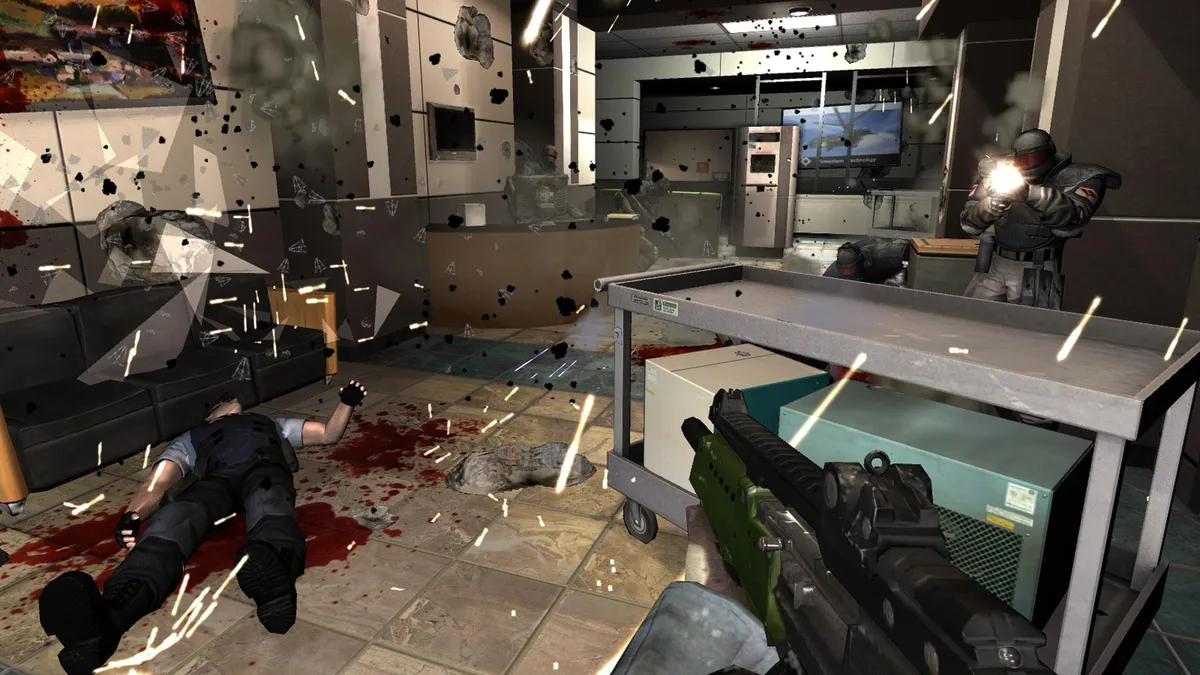
Survival begins with the monitoring gear. Medkits are collected in the field and then used to restore health after injury, with a maximum carry limit of ten units. Replacement body armor can be picked up once existing protection becomes damaged; armor helps against standard weapon fire but does not protect against explosive or environmental damage. Because armor depletes as it absorbs damage, the operative must collect additional armor to keep any protection, since losing it means taking much more damage from small-arms fire.
Hand-to-hand combat uses combinations of the Fire, Melee, and movement keys. With all weapons holstered, pressing Fire or Melee throws a simple punch. Holding any weapon, pressing Melee instead rifle-butts or bludgeons the enemy. These unarmed and weapon-based strikes cover close combat scenarios where hand-to-hand fighting is preferable to using a firearm, and the moves can be combined with the operative's reaction-time ability. The manual presents punches, rifle-butts, and kicks as the available fighting actions.
Multiplayer Modes: Deathmatch, Elimination, and Capture the Flag
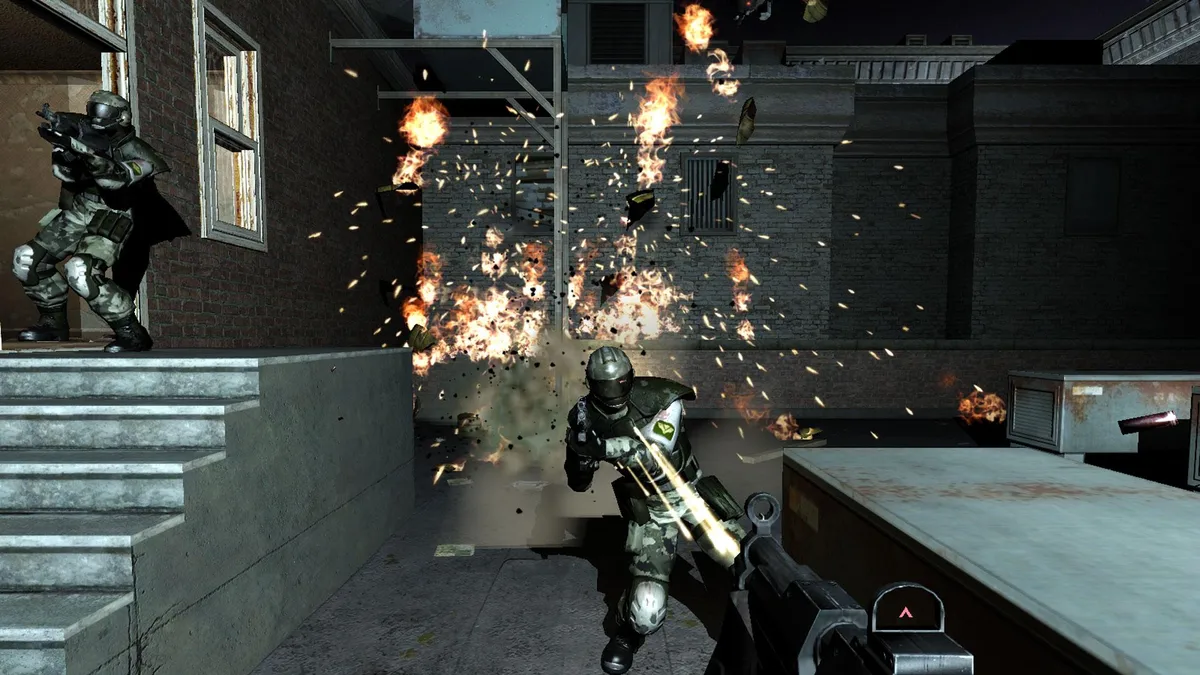
Deathmatch is scored by killing opponents as often as possible before the round ends, and a dead player respawns and keeps playing. Elimination changes that calculus: survival matters as much as eliminating enemies, so a death removes the player for the remainder of the round. The round concludes when only the winner remains alive or the time limit is reached. Capture the Flag puts two teams against each other, each trying to take the other team's flag from its base and bring it back to their own flag to score.
Capture the Flag awards points beyond the flag capture itself: for killing enemies, for defending your flag carrier against enemies, for defending your base from enemies while the flag is present, and for returning your flag to base after an enemy drops it. SlowMo Deathmatch centers on the reflex booster: hold it as long as possible to earn points for each second, and holding it until the SlowMo meter is fully charged lets you start slow motion and deliver heavy damage. While slow motion is active, the carrier moves roughly twice as fast as everyone else, and once the carrier is killed another player can pick up the booster.
Sources & further reading.
- F.E.A.R. — official game profile Retrieved Oct 21, 2026
- F.E.A.R. — official game profile — publisher-supplied gameplay manual Retrieved Oct 21, 2026
First published .