 THE GAME ARCHIVE
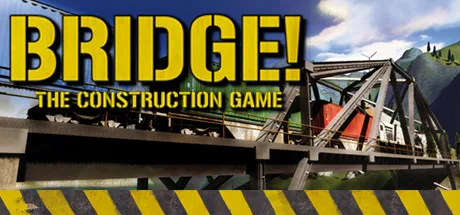
Building on the Grid with Struts, Cables and Hydraulics
Bridge! builds its construction process around connection points and a placement grid. Start by left-clicking a component in the lower panel, then click an existing connection point to attach it. This brings up a preview of the selected piece. Move the cursor to the grid point where the component should end and left-click again to place it. The two steps establish its attachment and endpoint: you cannot simply start a component anywhere on the grid. Construction proceeds piece by piece, selecting parts and positioning their ends rather than drawing an entire bridge at once.
The construction set contains 15 component types, including iron and steel struts, suspension cables and hydraulics, with parts for folding bridges, suspension bridges and combinations of bridge types. Placement feedback distinguishes existing pieces from an invalid overlap. Move the cursor over a built component and it turns green, marking it as selected; right-clicking removes that piece. Attempting to place another component exactly over an existing one instead produces a red preview and prevents placement. These rules separate adding a new member from selecting or deleting one already incorporated into the structure.
Permanent, Rotating and Loose Connections
Bridge! distinguishes permanent, rotating and loose connections, selected through the corresponding symbols at the lower left. Permanent connections are the default: they hold components in a fixed relationship rather than allowing deliberate movement at the joint. Fixed does not mean unbreakable, however. These connections can give slightly under stress and can break completely. For a bascule bridge, use rotating connections where the movable components meet the stable frame. This separates two roles within the same structure: permanent joints provide fixed connections, while rotating joints attach the moving portions to the frame without fixing them in place.
Loose connections serve a different purpose: they keep bridge components separate rather than joining them together. Use them between the movable end or ends of a drawbridge, where the parts must remain unconnected. That makes a loose connection distinct from a rotating one: the rotating joint connects a movable component to the stable frame, whereas the loose connection leaves a separation between components. There is also a construction restriction at that separation. You cannot build vertically above or below a loose connection, because such a component would be detached from the rest of the bridge and fall.
Simulation, Stress Analysis and Disaster Tests
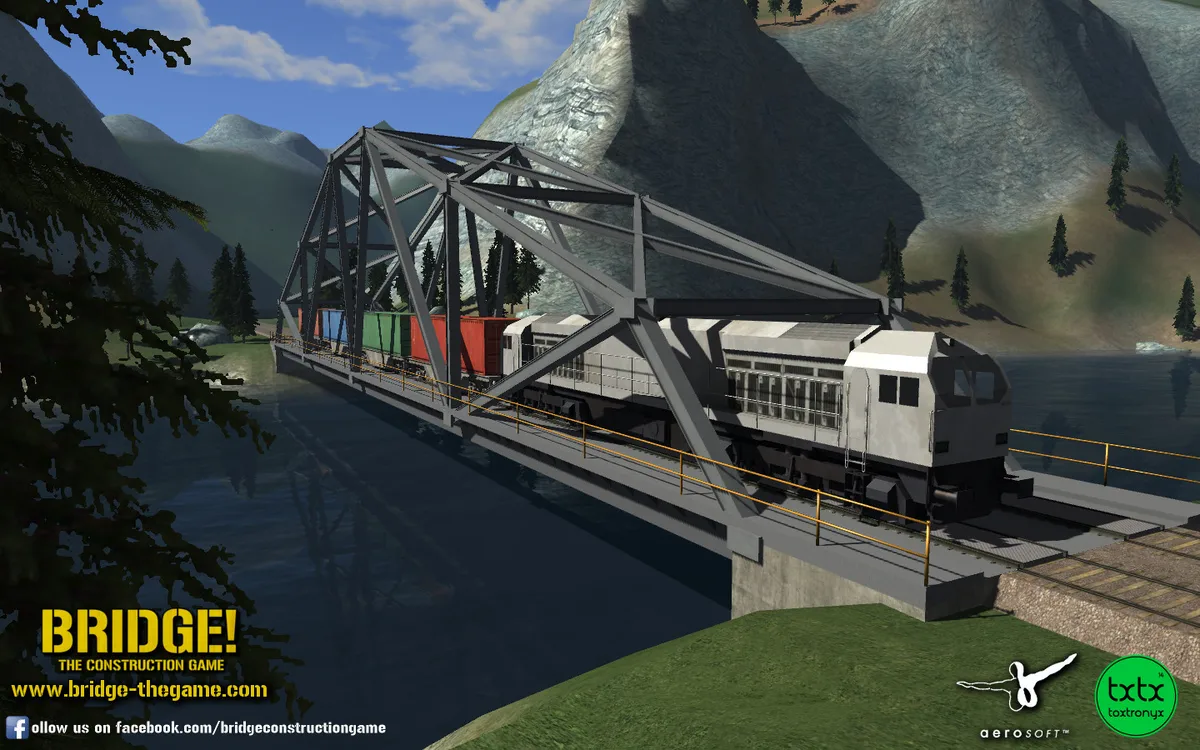
Once construction is complete, click the red main switch on the right to enter Simulation Mode. Building stops in this mode, and physics begins acting on the bridge. Before starting the mission’s assigned tests, check whether the structure holds without any additional influences. Click Start in the left panel to run those tests; completing all of them successfully produces a green light in that panel and completes the mission. The resulting evaluation offers a return to the main menu or progression to the next mission. You can also switch back to construction mode to try another solution.
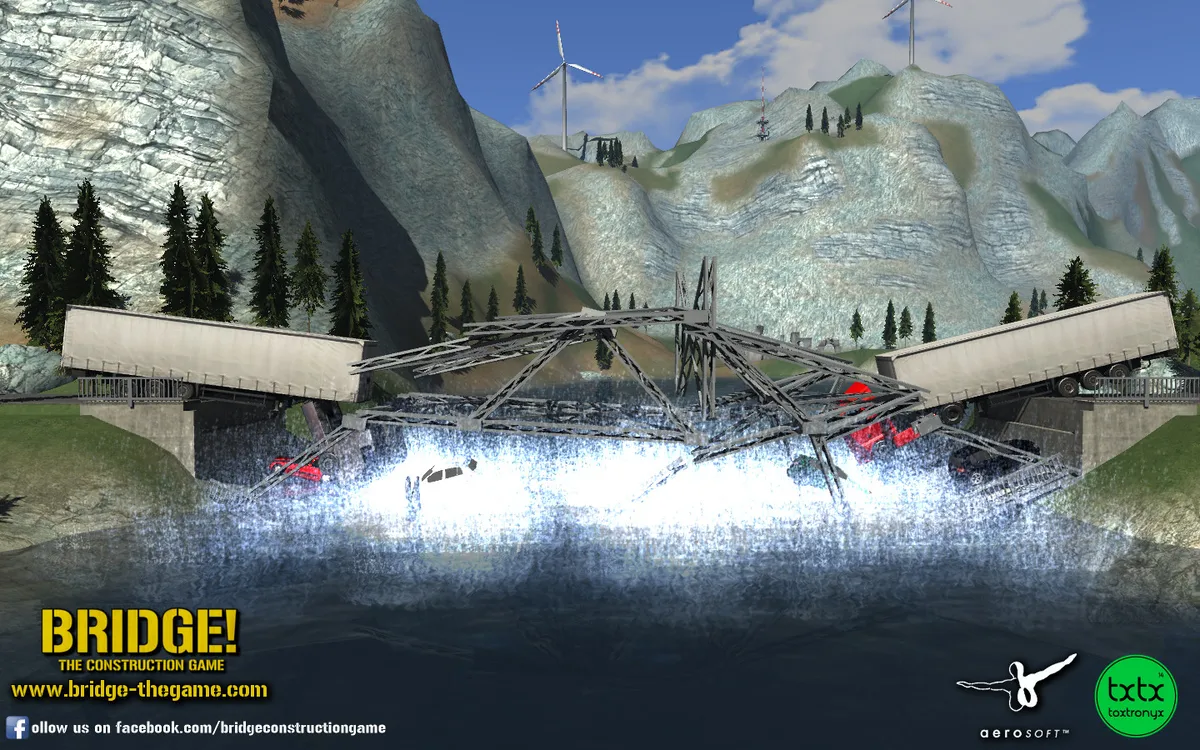
Use the Stress button to inspect the loads acting on individual bridge components. Rather than showing only whether the entire structure survives, this view lets you examine its parts for weak points before returning to construction mode to seek another solution. The disaster tests add floods, earthquakes and storms to the testing options. Earthquakes have three levels, as do storms; together with the flood test, these make seven natural disaster tests. These hazards are separate from the initial stability check: Simulation Mode first lets physics act on the bridge without further influences, while Start launches the tests assigned to the mission.
Sequential Missions, Difficulty Choices and Scenario Settings
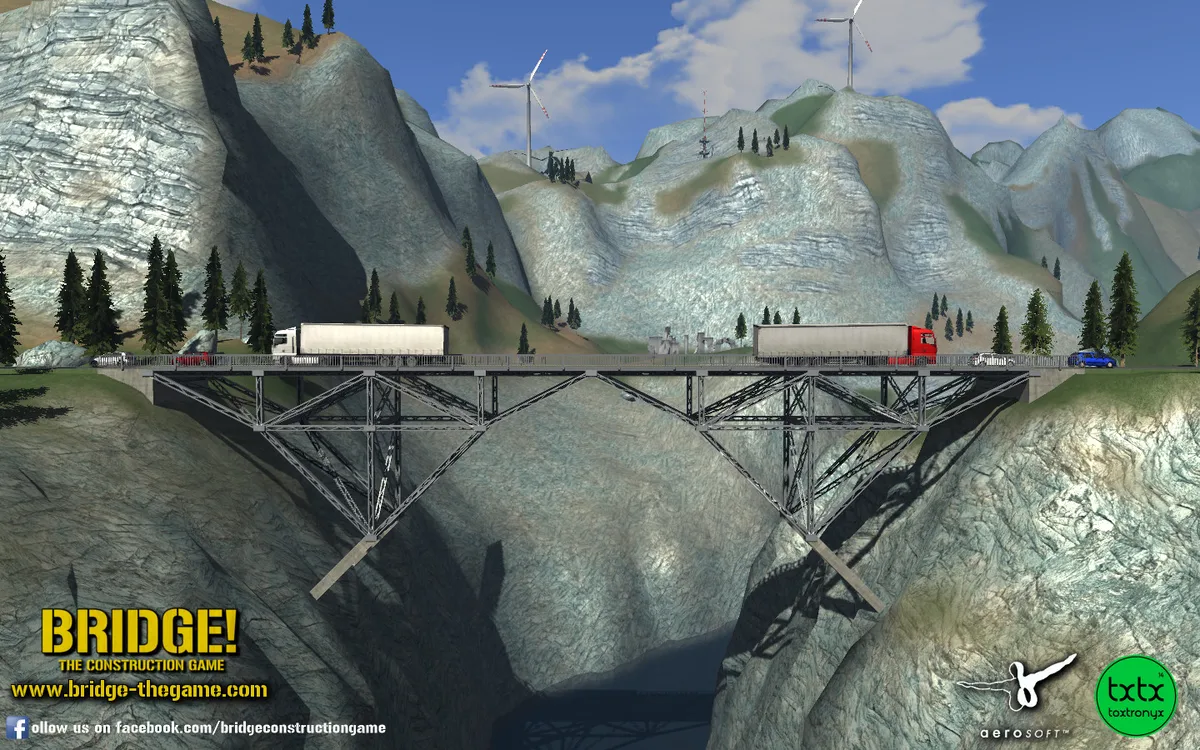
Bridge! organizes its missions into Easy, Medium and Hard categories, with increasing complexity across those difficulty levels. To start an easy mission, open Play, choose Easy, select a mission from the list and click Load. Progression is sequential: completing a mission unlocks the next entry, rather than opening the entire list at once. Difficulty selection and mission unlocking therefore serve different purposes: the categories separate levels of complexity, while the unlock sequence determines which mission becomes available next.
Scenario settings also distinguish the missions. The game lists three scenarios, each with road and rail versions, so road and railway construction are not confined to separate, single settings. The included Expansion Pack adds a desert scenario for both versions, extending the range of environments used by the missions. That pairing is the concrete distinction to keep in mind: the desert is an additional setting, while road and rail are versions available within the scenario structure.
Creating Custom Missions with Tested Budgets and Part Limits
The mission editor lets you construct a bridge and turn it into a custom challenge to share with friends. Before placing any components, use the two additional panels at the top of the screen to set the bridge’s length and height. Those settings are available only while the construction area contains no built parts: placing the first component hides both panels. To adjust the dimensions afterward, you must delete every component you have built. Setting dimensions therefore comes before construction unless you are prepared to clear the structure and begin again with a different length or height.
Saving a custom mission requires a tested bridge, not just a finished layout. The Save button appears at the top of the window after your bridge passes all the tests, and you must have selected at least one traffic test; the game reminds you if that requirement is missing. Click Save to name the mission, specify the number of components available and define its budget. Neither allowance can fall below what you used to build your own bridge. Your successful construction thus establishes the minimum component allowance and budget, preventing you from saving limits that exclude the solution you actually tested.
Sources & further reading.
- Bridge! — official game profileRetrieved Nov 10, 2026
- Bridge! — official game profile — publisher-supplied gameplay manualRetrieved Nov 11, 2026
First published .