 THE GAME ARCHIVE
Building Your Platoon: Classes, Kits, and Fireteams
As leader of a platoon of Ghosts, your first task in Platoon Setup is selecting fireteam members, then training, equipping, and commanding them once combat begins. Soldiers available for assignment sit on a list with two tabs: Standard candidates with basic statistics, and Specialist characters unlocked by particularly spectacular performance or by completing special objectives, who bring new weapons and new levels of expertise. Each soldier belongs to one of four classes—Rifleman, Sniper, Demolitions, or Support—and carries a name alongside that class designation.
Kit assignment occupies the lower-right section of the Platoon Setup screen, where each soldier receives a field kit. Every soldier has four possible kits; a rifleman defaults to Rifleman Kit 1, with Rifleman Kits 2 through 4 as the alternatives, and the same naming pattern applies to every other soldier class, each kit pairing specific weapons with an ammunition configuration. Beneath the fireteam buttons, Auto Assign fills fireteams with a default selection of soldiers, but once even one soldier has been assigned it changes into Unassign All, which removes all currently assigned soldiers from their fireteams.
Training Missions T01 Through T07
Training missions T01 through T07 cover distinct combat skills: T01-Obstacle Course, T02-Small Arms (handguns and other small arms), T03-Grenades (including the M203 grenade launcher), T04-Heavy Weapons (heavier guns and anti-tank weapons), T05-Machine Guns, T06-Demolitions (setting demo charges and using a claymore), and T07-Command (using the Command Interface properly and effectively). During training missions, you have unlimited ammunition, and individual magazines run out and can be reloaded. At certain points, red-outlined squares on the ground or yellow-and-black hazard markings indicate where you are supposed to stop and partake in particular training exercises.
The Command training mission teaches you how to use the Command Interface properly and effectively. During missions, the Command Interface allows switching soldiers, viewing stats, and managing fireteams. The Mission Status dialog, brought up by selecting the Escape key during a mission, lists your current objectives along with their numerical designation; below that is a series of buttons, including Continue (returns you to the game exactly where you left off) and Save Game (saves the current game and brings up the Save Game dialog).
Command Interface in the Field
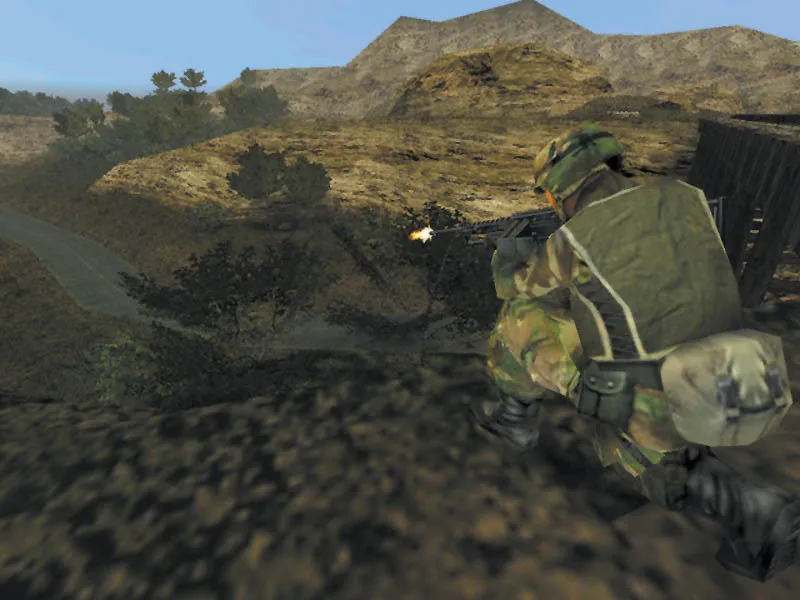
During a mission, the Command Interface is the tool for switching between soldiers, viewing their statistics, and managing fireteams. Instead of working through a separate menu outside combat, the player reaches these functions as operations unfold, changing the active soldier or checking a unit's stats while keeping the platoon organized. This interface was introduced in the Command training mission, which specifically covers using it properly and effectively, so its basic operations are taught before they are needed in a live mission. The Mission Status dialog opens when the player selects the Escape key during a mission. Its top section lists the current objectives with their numerical designations. Below that sits a row of buttons: Continue returns to the game exactly where it was left off, while Save Game saves the current game and brings up the Save Game dialog. The same screen also offers Options for the in-game options menu, Restart for a fresh attempt with the current platoon and kit, Abort for returning to the Briefing Screen, End Mission for an immediate finish and a failed After Action Review, and Quit.
Restart resets the mission state: casualties are erased, all expended ammunition is restored, and every hostile returns to its original position, so the platoon and kit carry over unchanged. The Save Game button opens a dedicated dialog rather than saving silently. Separately, quick-save and quick-load work during the Action phase: pressing the quick-load key, which defaults to F7, automatically loads the last quick-saved game. These controls let the player preserve progress or step back without leaving the mission screen through the longer Mission Status route.
Weapons and Field Gear
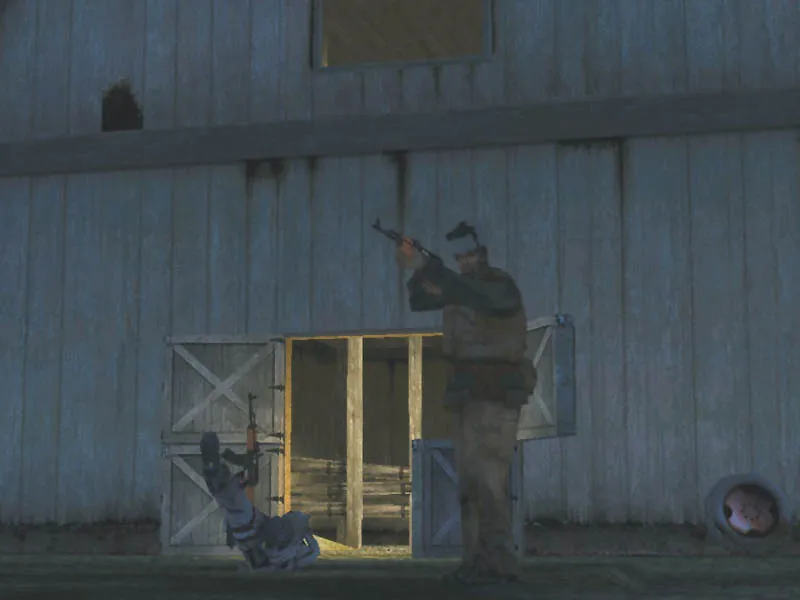
Standard weapons in the field include the M16A2, the M4 carbine, and the OICW, or Objective Individual Combat Weapon. These are supplemented by special-issue weapons carried by particular soldiers. Which weapon a soldier brings into a mission is tied to the kit assigned during Platoon Setup, since each kit pairs specific weapons with an ammunition configuration; a rifleman defaulting to Rifleman Kit 1 can be switched to Kits 2 through 4, and each class follows the same four-kit pattern.
Demolitions charges are placed by selecting the charge as the active weapon, moving to the desired spot, and pressing the Use Item key; the charge then detonates on its own at the end of the mission. Claymores are dropped the same way, but the weapons indicator switches to a detonator icon, and pressing Use Item again sets the claymore off, with a small lethal area directly behind it. Binoculars provide long-range viewing without firing and zoom smoothly in and out rather than skipping between zoom levels.
Campaigns, Difficulty, and Specialists
Starting a campaign begins at the New Campaign screen, where you type a distinctive name into the text box at the upper left so saved campaigns are not confused later. Below that box sit three difficulty ratings: Recruit, Veteran, and Elite. Recruit gives unlimited ammunition for some weapons and less skilled opponents, Veteran is the standard setting, and Elite pits the platoon against extremely skilled, lethal hostiles. Difficulty is locked once chosen—a campaign begun at Recruit cannot be switched to Veteran, so reaching that level means beginning a new campaign. The Campaign Screen shows each campaign's mission number, name, and current difficulty, with a Main Menu button to return.
Specialist characters enter the platoon through specific triggers rather than being chosen from the standard list: completing special objectives or delivering particularly spectacular performance unlocks them. Recruits gain more than a name and portrait—specialists bring new weapons and new levels of expertise that the basic roster does not offer. Once unlocked, they join the pool of soldiers you select, train, kit out, and command as platoon leader. Their arrival expands the equipment available for kit assignment, since each soldier's kit pairs particular weapons with an ammunition configuration, and specialists contribute armaments beyond the standard issue.
Multiplayer and Mission Conditions
Multiplayer extends the game to as many as 36 players over a LAN or Internet connection, and it spans six distinct modes fought across 11 multiplayer maps. Before a match begins, setup follows a sequence much like the single-player preparation: you enter a player name through the Options screen's Multiplayer tab, then choose LAN or Internet and join a game by selecting it and entering a password or port if required. Once inside, you add yourself to a platoon by clicking a platoon tab and then clicking a spot within that platoon.
Mission conditions shape how a firefight is fought. Each briefing screen supplies basic information about the mission, including the region name, the mission's starting date, the time of insertion into the field, and local weather conditions. Weather matters because it can affect both visibility and hearing for your troops, so the same map plays differently depending on the conditions reported. Expecting perfect weather on every mission is a mistake. Certain missions also require rescuing hostages or taking enemies prisoner to complete objectives; hostages stay in place even after their captors are eliminated, and a hostage follows only after a soldier runs into them.
Sources & further reading.
- Tom Clancy's Ghost Recon® — official game profile Retrieved Oct 11, 2026
- Tom Clancy's Ghost Recon® — official game profile — publisher-supplied gameplay manual Retrieved Oct 18, 2026
First published .