 THE GAME ARCHIVE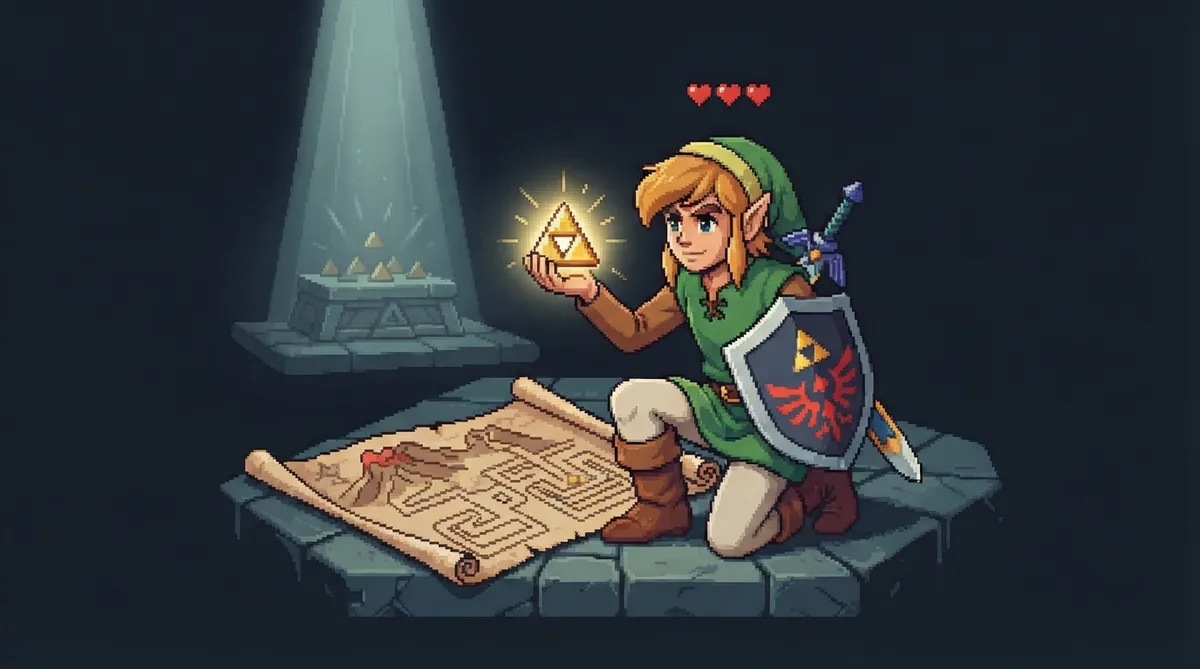
A Two-Layer Adventure Defined by Its Manual
The Legend of Zelda 1 is a Famicom game, and Nintendo's official Japanese manual lays out its adventure as two connected layers: a vast surface world and the underground labyrinths scattered across it. You move Link with the D-pad, explore the surface to find dungeon entrances, then descend to clear each labyrinth. The stated goal is direct: collect all eight Triforce pieces hidden in the underground labyrinths, defeat the great demon king Ganon in the final labyrinth, Death Mountain, and rescue Princess Zelda. This article follows the manual's own order of explanation, showing how movement, combat, recovery, and progression rules fit together.
The Core Loop: Surface Search, Dungeon Clear, Triforce Claim
The manual describes a repeating structure. On the surface you explore to find dungeon entrances; inside a dungeon you clear it to claim the Triforce piece hidden there. All eight pieces are hidden across the underground labyrinths, and once they are collected the final labyrinth, Death Mountain, becomes the destination, where Ganon waits. Defeating him is the step toward rescuing Princess Zelda. On the dungeon main screen, a level number indicates the labyrinth's difficulty, giving a rough read on what you are walking into before committing to its rooms.
Navigation tools give the loop a rhythm. A Map reveals the full layout of the underground labyrinth, and a Compass shows where the Triforce lies within it; both appear on the dungeon sub-screen once you acquire them as items. That sub-screen also shows which areas you have already passed through. On the overworld sub-screen you can view the Triforce pieces you have gathered, see the items you have obtained, and change which item is equipped. The practical advice is to check the sub-screen after every pickup: new dungeon information is documentation you did not have before, and it changes which unexplored rooms are worth entering next.
Combat and Equipment: Sword Beams, Shields, and the Item Slot
Link's sword is his main weapon, and when his LIFE meter is full it fires a beam that can strike distant enemies. Three sword types exist with different attack strengths, so upgrading offense changes how safely you can engage. When Link is not attacking, his shield can deflect frontal attacks, though some attacks, such as body slams, cannot be blocked. Two shield types exist; the Magical Shield is larger than the starting shield and blocks more attack types. That full-LIFE beam rule creates a deliberate tension: taking even one hit removes your ranged option until you heal, so the health rules described below directly affect how aggressively you can fight.
Equipped items are changed on the sub-screen, and items such as the bow can be assigned there; the bow becomes equippable once you obtain arrows. Items can be picked up by touching them on the ground or bought from merchants, and touching a merchant's item automatically deducts rupees. The boomerang freezes enemies on contact, damages weaker foes, and can retrieve items. The bow requires both bow and arrows, and each arrow fired consumes rupees; certain enemies can only be defeated with arrows. Bombs blast nearby enemies and open holes in walls, with one pickup adding four to your carried count against an initial cap of eight. Enemy bait lures foes, though some are unaffected. These tools give combat options beyond the sword when a specific enemy demands a specific answer.
LIFE, Damage, and What Game Over Really Costs
The LIFE meter is represented by hearts. When an enemy or other source deals damage, the hearts decrease; if all hearts are lost, the game ends. The manual lists five ways to recover LIFE: defeating an enemy to get a heart, buying a heart from a merchant, defeating an enemy to rescue a captured fairy, meeting a fairy in a spring, or obtaining a Triforce piece. Each restores some of the meter. This list shapes risk management: you can deliberately hunt enemies for hearts, spend rupees on recovery, or push toward a Triforce piece knowing the pickup itself heals you. It also ties back to sword beams, since restoring full LIFE brings your ranged attack back.
After a game over, three choices appear. Continue restarts from the start point of the overworld or the dungeon, resets LIFE to three hearts, and keeps all collected items. Save records progress and returns to the file select screen. Retry returns to the file select screen without saving. Because Continue carries items forward but resets hearts to three, the choice is really about whether to keep playing immediately with a weaker LIFE meter or to bank progress and stop.
Dungeon Tools and Terrain Helpers: What Each Item Unlocks
In the dungeons, the Power Bracelet lets Link move rocks that block his path, while the Ladder allows him to cross holes and small rivers. Keys open locked doors in these labyrinths, but a normal key disappears after one use; the Magical Key can be used any number of times. Rupees, the currency, come in yellow worth one and blue worth five, and Link can carry up to 255 at once. The cap matters because arrows, hearts from merchants, and shop items all draw on the same pool, so spending competes across uses. Several of these items are automatic: the manual notes that some items are used when needed just by being held or take effect immediately on pickup.
Other pickups change how dangerous a room is. The Magical Clock halts all enemy movement for as long as Link remains in the current area, turning a dangerous room into a quiet crossing. The Blue Ring cuts damage taken from enemies to one-half, and the Red Ring reduces it to one-quarter. A Raft carries Link across seas and lakes when he reaches a spot called a ferry landing. Because rings and the clock take effect on acquisition, finding them quietly widens the range of rooms and terrain you can survive, even before you think to use them.
Saving Progress and the 1P/2P Switch
The manual documents two save paths. At a game over, you select the quit-and-save option and press the A button to save. Mid-game saving instead relies on a documented 1P/2P switch: on the sub-screen, holding the A and B buttons together while pressing X switches control between players, and the manual notes that if switching to 2P leaves the controls unresponsive, you switch back to 1P the same way. With control restored, you select the quit-and-save option on the sub-screen and confirm with the A button to write the file.
File deletion is handled separately from ordinary saving. On the file-select screen you choose kill mode, select the file to remove, and then pick the kill-and-quit entry, which brings up a name-registration screen. The manual warns that erased data cannot be recovered. Together with the continue, save, and retry options after a game over, these procedures give the player several clearly documented ways to manage a run.
Source-Backed Starting Advice
Several rules in the manual suggest practical habits. Check the dungeon sub-screen after picking up a Map or Compass, because the information only appears once those items are held. Keep an eye on the LIFE meter if you rely on sword beams, since the ranged attack only works at full LIFE; hunting enemies for hearts or buying one from a merchant restores it. Treat rupees as a shared budget: arrows, merchant hearts, and items all spend the same pool capped at 255. Use bombs when a wall looks solid, since the manual states they can open holes, and expect some enemies to require arrows rather than the sword.
Scroll sideways to see the full table →
| Topic | What the manual documents |
|---|---|
| Goal | Collect eight Triforce pieces; defeat Ganon in Death Mountain to rescue Zelda |
| Movement | D-pad moves Link |
| Swords | Three types with different attack strengths; full LIFE fires a beam |
| Shields | Two types; Magical Shield is larger and blocks more attack types |
| LIFE | Hearts; restore by enemy hearts, merchant hearts, fairies, springs, or Triforce pieces |
| Game over | Continue (3 hearts, items kept), Save, or Retry (no save) |
| Rupees | Yellow 1, blue 5; cap of 255 |
| Keys | Normal keys are single-use; Magical Key is reusable |
| 1P/2P switch | Hold A+B and press X |
Sources & further reading.
- ゼルダの伝説1 — official game manual Retrieved Oct 16, 2026
First published .