 THE GAME ARCHIVE
Slow-Mo: Bullet Paths and the Reflex Meter
Slow-Mo is the ability at the center of the Reflex Meter section. By entering a slow-motion state, the player gains an extreme tactical advantage when facing multiple foes. Within that state, the paths traveled by bullets become visible, allowing the player to see where incoming fire is headed. Aiming and firing happen far more quickly than for enemies, and the player can take out several adversaries before they are aware of any movement. Holding the mode for an extended period drains the meter, and the player can keep it active only as long as energy remains.
The Reflex Meter itself is shown on the player's visor, which reports the status of the heightened reflexes and how long Slow-Mo can be sustained before a rest is needed. Once the bar runs out, the mode can no longer be used until the player recovers. The duration can be extended permanently by collecting green Reflex Injectors. These items are rare and are usually found in out-of-the-way places, so lengthening the meter requires searching beyond the main path. Each injector adds to the time available before rest becomes necessary.
Slide Kicks and the Close-Quarters Moveset
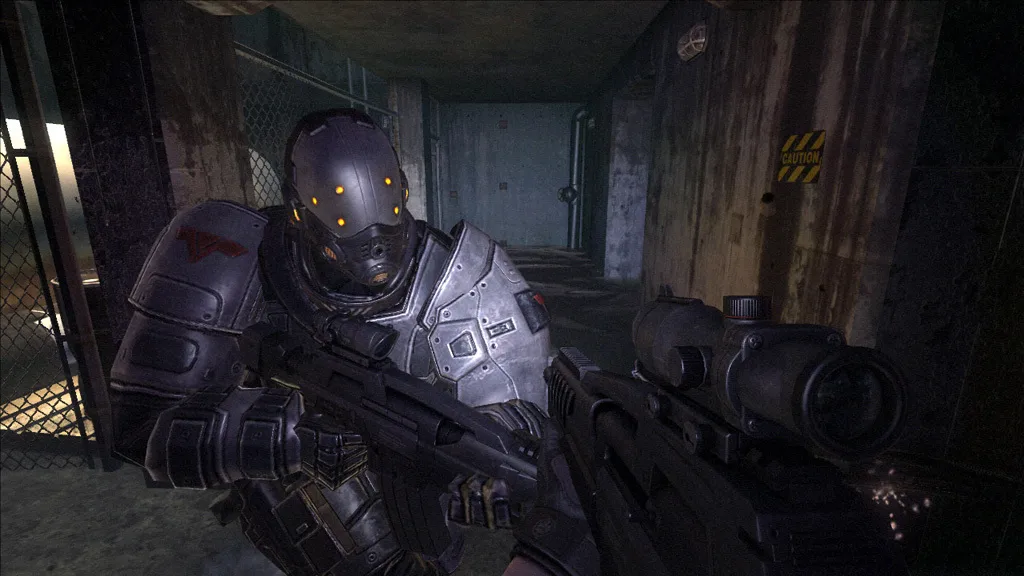
The close-quarters moveset assigns melee to mouse button 2. A plain press delivers a powerful punch or a strike with the butt of the gun, giving one input that covers both unarmed and gun-butt attacks. Two variations build a jump into the strike: a roundhouse kick comes from jumping in place with the spacebar and then pressing mouse button 2, while a jumping kick is performed by jumping while running toward an enemy and pressing the same button. Each move layers a movement condition onto the melee press, so the jump state determines which kick comes out.
The slide kick adds sprinting to that pattern. Holding the Alt key default sprint, the player runs toward an enemy and presses mouse button 2 to perform a momentum-charged slide kick. Sprint is not unlimited: the sprint bar on the display measures stamina, and when the bar runs out the player can no longer sprint and must move normally for a time to catch back up before running again. That rule ties the slide kick to the sprint bar, since the approach needs sprint speed before the melee press converts it into the slide. Mouse button 2 also remains the generic melee input.
Four Weapons, a Quick-Select Wheel and Swap Prompts
Weapon selection runs through a quick-select menu bound to mouse button 3. Holding that button brings up a display that arranges the firearms you currently possess along the top and bottom, with the ammunition count for each, while the grenades you are carrying sit on the left and right. Moving the mouse highlights a different weapon, and releasing mouse button 3 equips whatever is highlighted. A fire status indicator also appears within this menu. In Single Player you can hold up to four weapons, five of each regular grenade type and four proximity mines at once, with Multiplayer limiting the arsenal to two weapons.
Because the four-weapon limit can fill the arsenal, encountering a new firearm triggers a swap prompt asking whether you want to trade. To take the new gun, you first use mouse button 3 to equip the weapon you intend to discard from your inventory, then complete the swap. The ammo and max capacity meter shows the current weapon's loaded rounds against the rounds held in reserve, so you can track the firearm you are about to give up before confirming. Grenades work separately: holding the G key with one equipped begins a cook meter showing the time until detonation, and releasing throws it.
Medkits, Injectors and the Inventory Cap
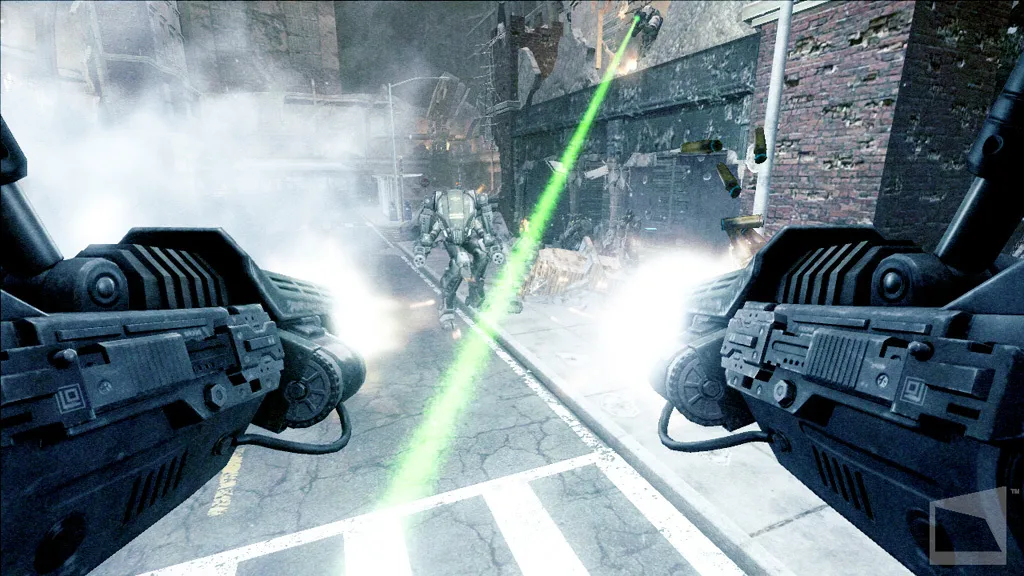
Health recovery is split between two carried-then-consumed systems. Medkits can be collected and stored, up to three at a time, and pressing the Z key spends one to restore health fully; because they are not easy to find, they suit serious emergencies. Red medical injectors work differently: they trigger the moment they are collected, restoring only a small amount of health, and are not picked up at full health. Armor vests repair damaged armor, which shields against small-arms fire but is quickly burned through by armor-penetrating weapons and explosions.
The inventory cap governs what can be picked up. Items are normally collected with the E key or by moving over them, but medkits, armor, ammunition and grenades each have a maximum; once that limit is reached, the message FULL appears and the item cannot be taken. Reflex Injectors sit outside this consumable cap and are rare, usually tucked into out-of-the-way places, with each green injector permanently lengthening the Slow-Mo duration so the meter holds longer before rest is required.
Improvised Cover and Volatile Objects
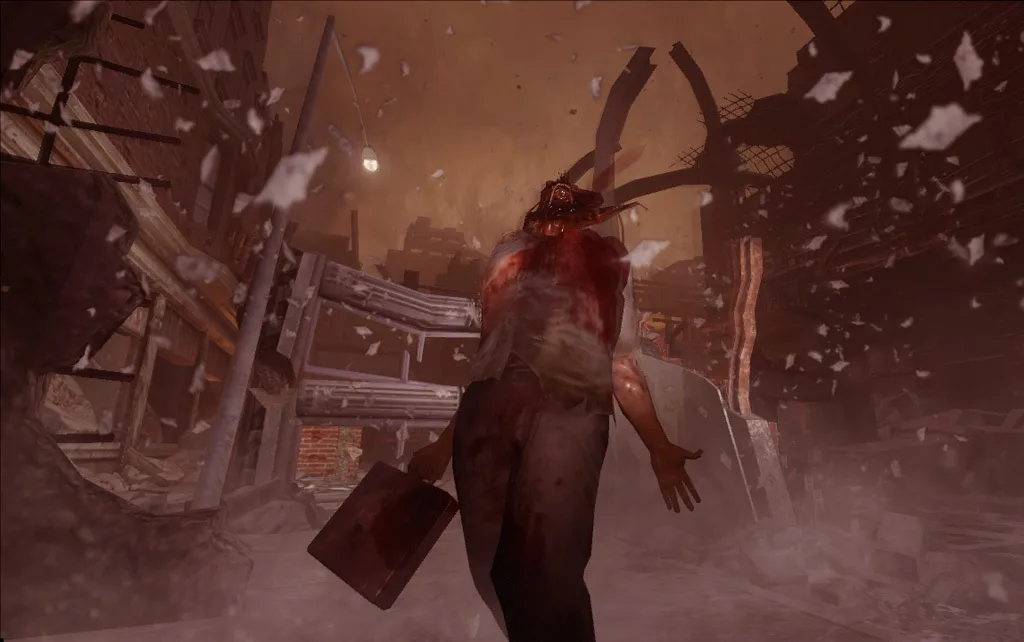
Improvised cover turns the surroundings into a defensive tool. The player can create instant cover or clear obstacles away, and furniture and car doors are among the objects that can serve this purpose. Beyond cover, certain items can be shifted out of doorways to open a passage, and computers left in a hurry can help unlock doors. The environment works both ways, though: enemies sometimes use it against the player, so a position built for defense can also be turned to an attacker's advantage.
Volatile objects are the most dangerous part of that environment. Fire extinguishers, yellow electrical boxes and gas cans explode when shot, and detonating one near enemies catches them in a powerful blast. The same rule applies to the player, so standing close to a volatile object when it goes off is a risk to be avoided. Because enemies behave realistically and use the environment against the player, an explosive placed near the player can be turned against them just as readily as against foes.
Six Multiplayer Modes, From Control to Blitz
Multiplayer in this game spreads across six modes. Deathmatch is the basic free-for-all, with scores and rankings determined by kills minus suicides. Team Deathmatch divides players into two teams, and friendly fire is optional. Control is a team capture-and-defend mode built around three control points: capturing and holding points accumulates score for the team. Armored Front reworks Control by requiring teams to capture the points in sequence to conquer and win; if neither side captures all points before the round ends, the team owning the most control points wins. Each team also controls one Elite Powered Armor unit, adding to the mayhem.
The remaining team modes center on objectives. Failsafe pits one team attempting to plant and detonate a bomb against a team trying to defuse it or otherwise keep it from detonating, with scores and rankings set by success or failure of the team goals. Blitz tasks one team with stealing PHLAGs. Ranking splits play into ranked and unranked games: ranked matches track experience and rank and do not allow customizing default game options, while unranked games do not accumulate experience or count toward leaderboards. Players can jump into a quick match, search for specific game types with custom parameters, or host their own game, and lobby settings can be altered until the host launches or a player marks ready.
Sources & further reading.
- F.E.A.R. 2: Project Origin — official game profile Retrieved Oct 17, 2026
- F.E.A.R. 2: Project Origin — official game profile — publisher-supplied gameplay manual Retrieved Oct 18, 2026
First published .