 THE GAME ARCHIVE
Building the Squadron: Harbor Purchases, Finances and Ship Sales
Squadron building begins in the harbor, where you buy the initial ships and manage the financial side of assembling your force. The sale list occupies the top of the screen, with background colors distinguishing purchase status: black means a ship can be bought immediately, while red means it is unavailable. Purchased ships appear in a separate list at the bottom. Availability also has a numerical limit, since each ship type comes in restricted quantities. Building the squadron therefore involves both paying for ships and checking which vessels the harbor actually permits you to purchase at that point.
The harbor remains the place to change that roster after each battle, when the squadron returns and you can purchase another ship or sell one or several existing vessels. New warship types become purchasable as the game progresses, so the initial selection is not the full set of ships you can eventually acquire. Sales, however, have a permanent restriction: a ship you sell cannot be bought again. That rule separates selling from simply setting a vessel aside. Later access to new types expands the purchasing list, but it does not reverse the loss of an individual ship already sold.
Organizing Columns and Controlling Speed and Turns
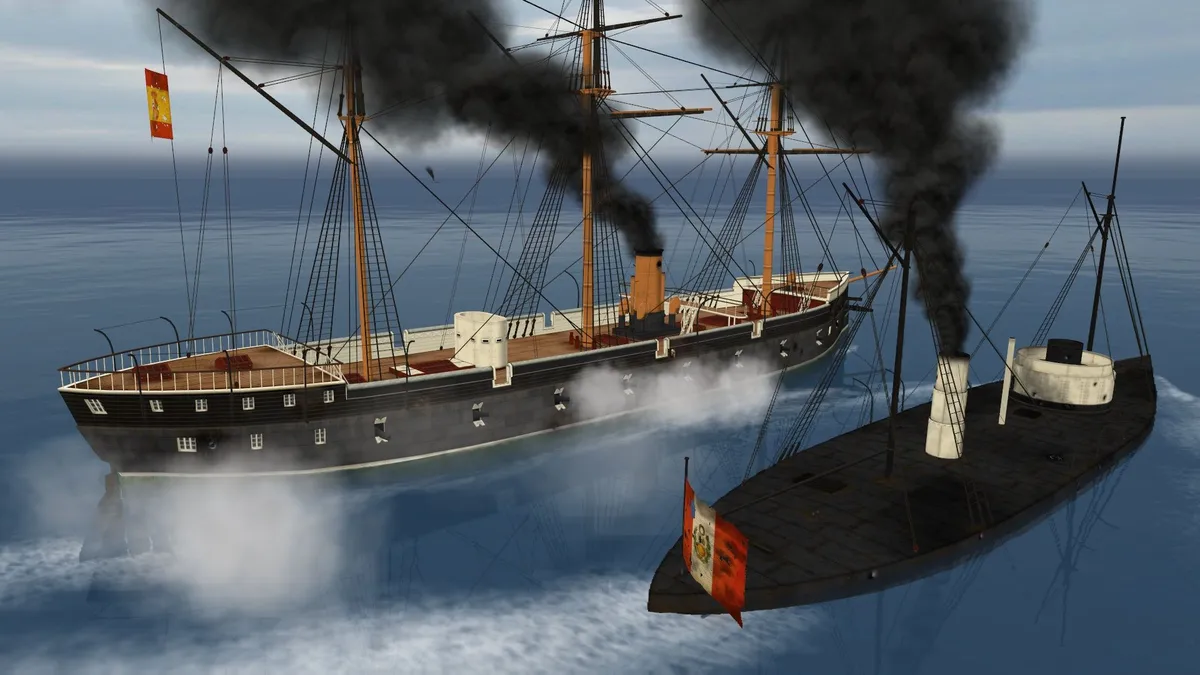
On the warship group screen, divide the squadron among three groups, each holding no more than 15 ships. You can leave vessels in harbor rather than taking the entire roster into battle. Within each group, ships follow the leading vessel in a column, but the slowest ship determines the speed of all groups, not merely its own column. Separating vessels into different groups therefore does not remove that shared speed restriction. To select a column in battle, press its Roman numeral on the left side of the screen; to select an individual vessel, click that ship’s icon instead.
Movement uses separate speed and turning controls. On the speed dial, white numbers on the right indicate forward movement, while red numbers on the left indicate movement astern. Select anything from a stop to maximum speed, with intermediate numbers representing percentages of the ship’s maximum rather than fixed speeds shared by every vessel. Above that selector sits the turning slide bar: leave it centered to travel straight, choose a position right of center to turn right, or choose one left of center to turn left. Direction of travel and turning are thus set through distinct parts of the movement interface.
Inside the Buoys: Timed Battles, Automatic Gunfire and Ramming
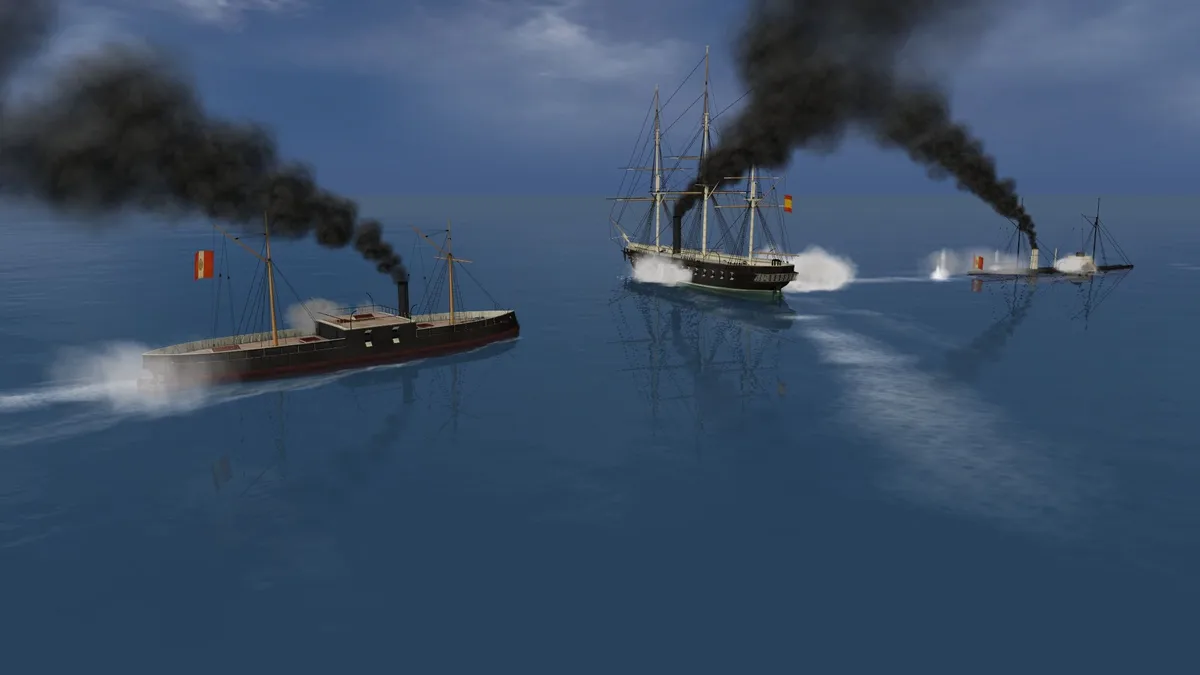
Red anchor buoys define the battle area, and squadrons can fight only within that boundary. The objective is to destroy as many enemy ships as possible, but the engagement also has a time limit: a timer beneath the compass in the upper-left corner shows how much time remains. Within those spatial and temporal limits, ships automatically select enemy targets as they enter armament range. Automatic shooting begins at a 25 percent chance of hitting, so entering range and opening fire are linked to an accuracy threshold rather than simply to the presence of an enemy somewhere inside the buoy-marked area.
To control an individual ship’s firing yourself, bring it within range and click the Begin Gun Fire control. Ramming has a separate equipment requirement: only vessels fitted with special rams can inflict collision damage. Merely steering an unequipped ship into an opponent therefore does not provide a damaging alternative to gunfire. For a ram attack, the manual calls for the greatest possible speed and an approach as close as possible to a right angle. Target type matters as well as equipment and approach: monitors and casemate ironclads cannot be rammed, regardless of how the attacking vessel lines up.
Fire, Flooding and the Return to Harbor: Repairs and Crew Experience
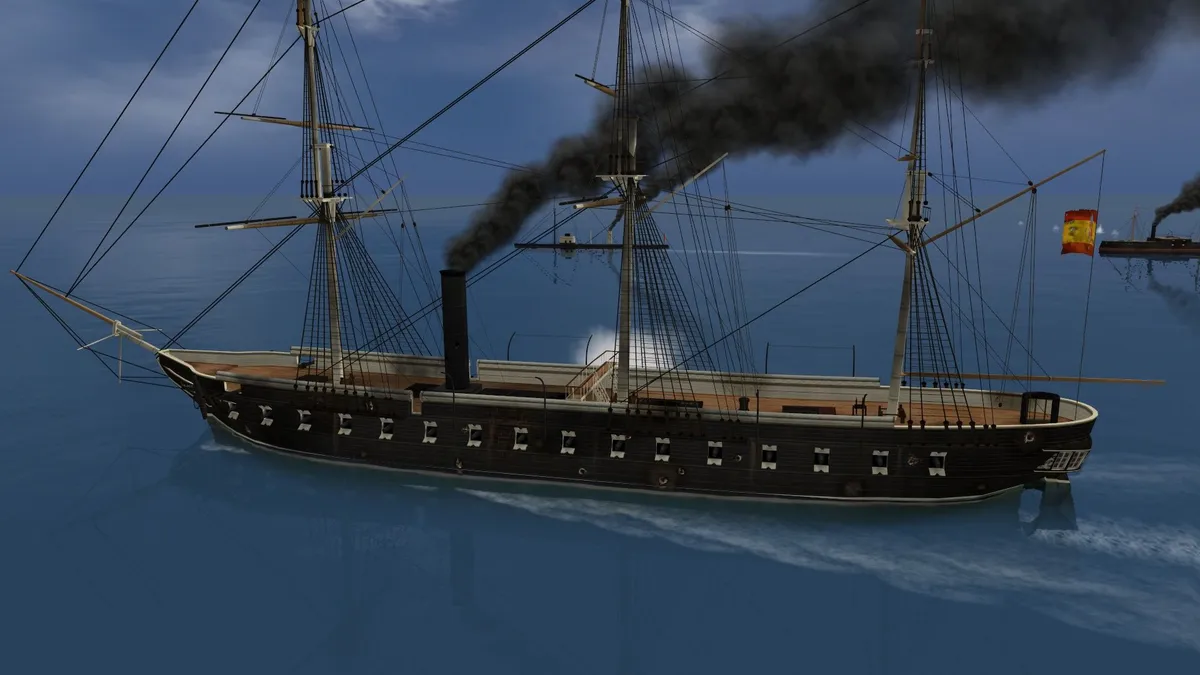
Shell hits create different threats depending on where they strike: above the waterline they may start fires, while underwater hits may cause flooding. Crews automatically fight fires and pump out water during battle, so those responses do not require separate orders. Enemy fire and onboard fires increase the ship’s damage percentage, eventually causing it to sink. Accumulating damage also makes firefighting and flood repair harder and reduces movement. A damaged vessel therefore faces connected problems: it moves less effectively while its crew has greater difficulty containing the fire and flooding that threaten its survival.
Back in harbor, use the repair buttons to repair ships damaged in combat. Damage also lowers a vessel’s sale value compared with its undamaged condition, giving the condition of the hull a financial consequence beyond its reduced performance at sea. Alongside that repair work, crews gain experience after battle. The game has three experience levels that improve ship parameters, with a silver star appearing on the ship’s data screen as its experience level rises. Harbor repairs and crew progression address different aspects of the same vessel: repairs deal with combat damage, while accumulated experience improves its parameters.
Sources & further reading.
- Ironclads: Chincha Islands War 1866 — official game profileRetrieved Nov 10, 2026
- Ironclads: Chincha Islands War 1866 — official game profile — publisher-supplied gameplay manualRetrieved Nov 10, 2026
First published .